| FAQ | iOS | Mac |
The Basics
Editing
Importing and Downloading dataTroubleshooting |
Logging SitesManaging SitesYou can select Sites in the sidebar to view and manage your sites. This is where you want to go to do advanced site editing. This view lets you browse and edit your existing sites, create new sites, etc. Adding Sites To DivesYou can add existing sites to dives in a couple of ways. Via the Dives Table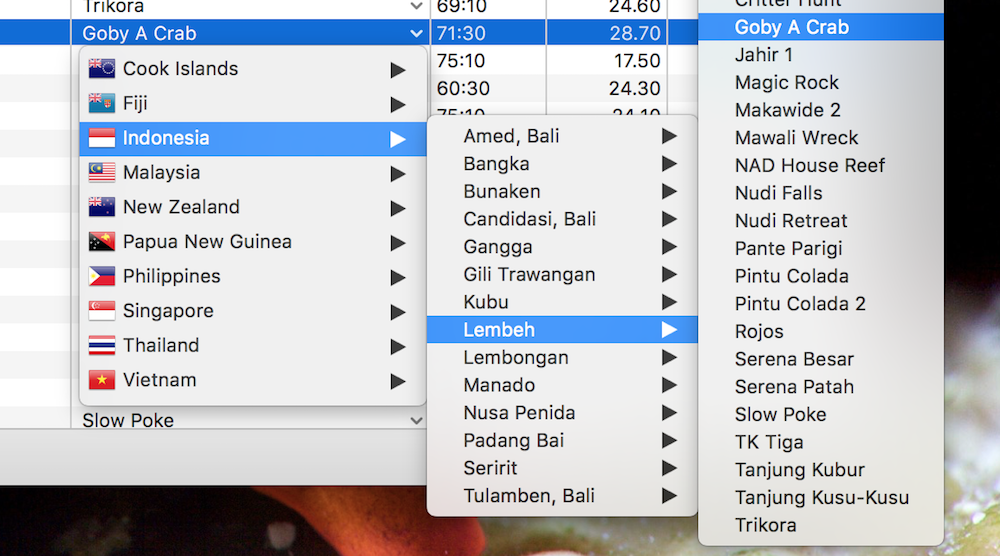
Clicking on a site in the Site Name column of the main dives table enables you to browse through Countries and Locations to pick a site. This is, however, limited to modifying one dive at a time. Via the Dive Inspector
The Site tab of the Dive Inspector provides two ways to add sites to the selected dive(s), and allows you to work on multiple dives. To add an existing site to the selected dives, click Change and navigate through the Country and Location to the site you want. However, you can also create a new site and add it on the fly. Clicking New Site will present you with a popup that contains text boxes for the Country, Location and Name. Type in the appropriate things and then click Create to create and assign the site to the selected dives. If you navigate to another dive and choose New Site again, the Country and Location will remain. This allows you to log dives in the same area without having to type the same data in multiple times, and can be very useful when logging multiple dives/sites after a trip. In this case you can simply change the name and click Create. |