| FAQ | iOS | Mac |
The Basics
iPadAdvanced
Tips and Tricks |
Configuring Tanks and GasesGenerally your gas and tank information is sourced from a Dive Computer and created automatically. However you may want to enter old dives, or you may not have a Dive Computer yet. You can still configure and use all the relevant information. MacDive supports everything from basic to more complex arrangements of Tanks and Gases. If you're starting from scratch you may want to do some initial setup for your regular tanks and gases, which will let you use them conveniently in the future. If you use a supported Dive Computer or sync from MacDive for OS X you may already have this data configured. Configuring TanksYou can create or configure tanks via either the Settings tab, or by tapping when you're inspecting a particular Tank/Gas used on a dive. 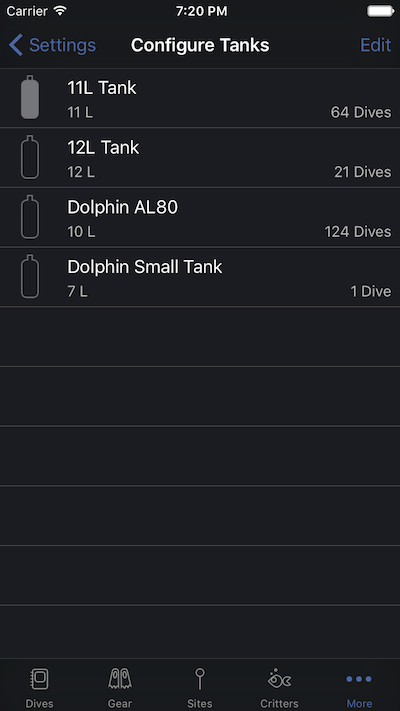
In the screenshot above you can see a list of the available tanks. The filled in tank represents the Default tank. This will be used whenever you download or import any new dives, so that you don't have to set it manually. Tapping any tank lets you configure it. In order to calculate your Surface Air Consumption rate you'll want to ensure that a Tank Size is set, which is specified in Litres for Metric or Cubic Feet for Imperial units. You'll also want to set a Working Pressure if you use Imperial units, however you can ignore this if you use Metric units as it is not used. Tapping Edit lets you add or remove tanks. Configuring Gases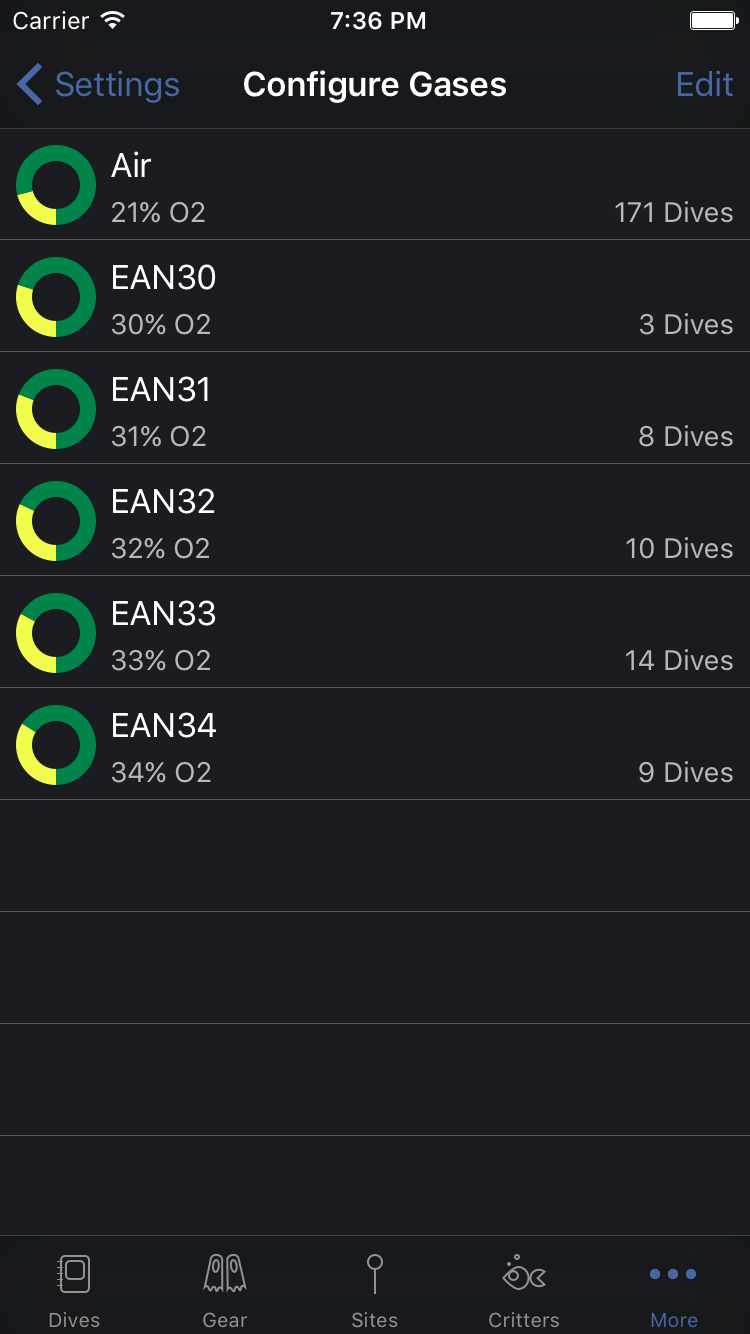
Configuring gases works the same way as tanks. You can configure them either via Settings, or via when inspecting a tank/gas on a dive. Tap a gas to configure it, or tap Edit to add or remove gases. Once your gases are set up then you won't need to think about them again. You can pick them easily on dives, or your Dive Computer will simply assign them for you. |